Before & After
Important notice: All before-and-after images displayed on this page are published with explicit, documented patient consent. Individual results vary significantly and these images are not a promise or guarantee of outcomes. Each patient's experience depends on their unique anatomy, health, treatment plan and healing response. A personal consultation and clinical assessment are required before any procedure.
 Editorial placeholder
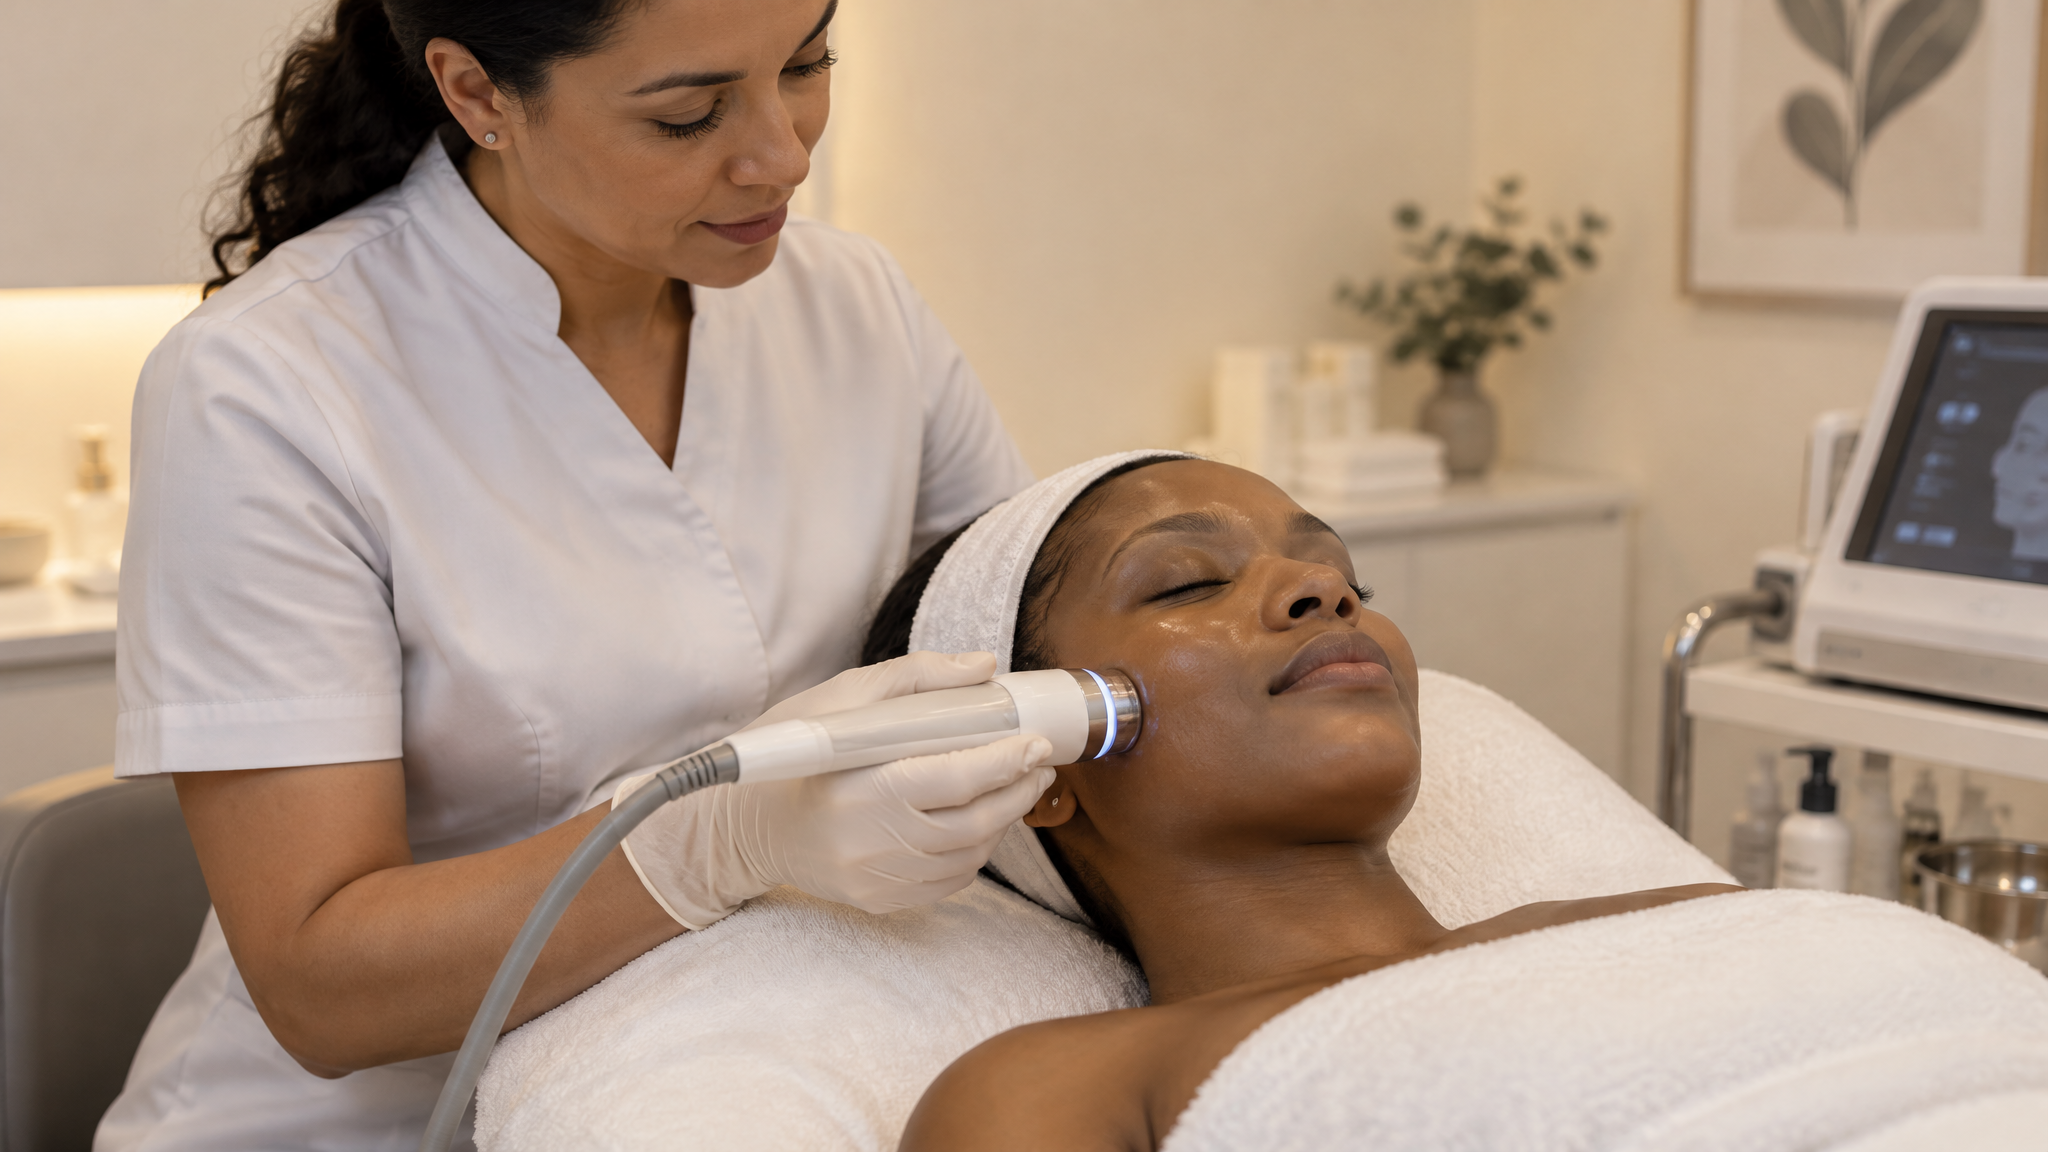 Editorial placeholder
 Editorial placeholder
Our before-and-after gallery is being prepared with approved, consent-verified patient images. If you would like to discuss potential results for a specific treatment, please book a consultation with our team.